Developer Story: Using Webpack in DotVVM Core project
Published: 11/2/2017 6:11:00 PMHi, my name is Maxim and I’m a .NET Developer at Riganti. Today I would like to share with you a story of how I used webpack in one of our projects and how it worked out.

I started my development career a few years ago in ASP .NET Web Forms and MVC. During this period, things like Node.js, Bower, Gulp or Grunt were completely mysterious and weird to me. I felt pretty comfortable with Microsoft web frameworks and afterwards with DotVVM.
During development I've always had some thoughts, that there must be a better way to write front-end, then writing CSS code from scratch and refreshing each page every time I wanted to see the changes. First step to improve the front-end development was to use a CSS preprocessor. I used SASS and a Visual Studio extension called Web compiler. It compiles .scss files after every file save in Visual Studio. Even this was a huge boost on its own. But I still had to manually refresh the page every time. When ASP.NET Core and DotVVM Core came out I really liked it. I could try all the things, that were so unknown to me in my favorite web framework!
One of the things to try was called webpack. For developing in DotVVM you don’t have to write much JavaScript code, but It doesn’t mean, we can’t use some cool webpack features. Let’s jump into a sample DotVVM project and see how we can use some webpack features.
First, we need to prepare our project.
First, we need to prepare our project
- We need to have Node.js 5.x.x installed
- We need to have .Net Core 2.0 installed
- WebPack Task Runner is recommended (only for simplicity though, node.js command line also works fine)
- DotVVM For Visual Studio
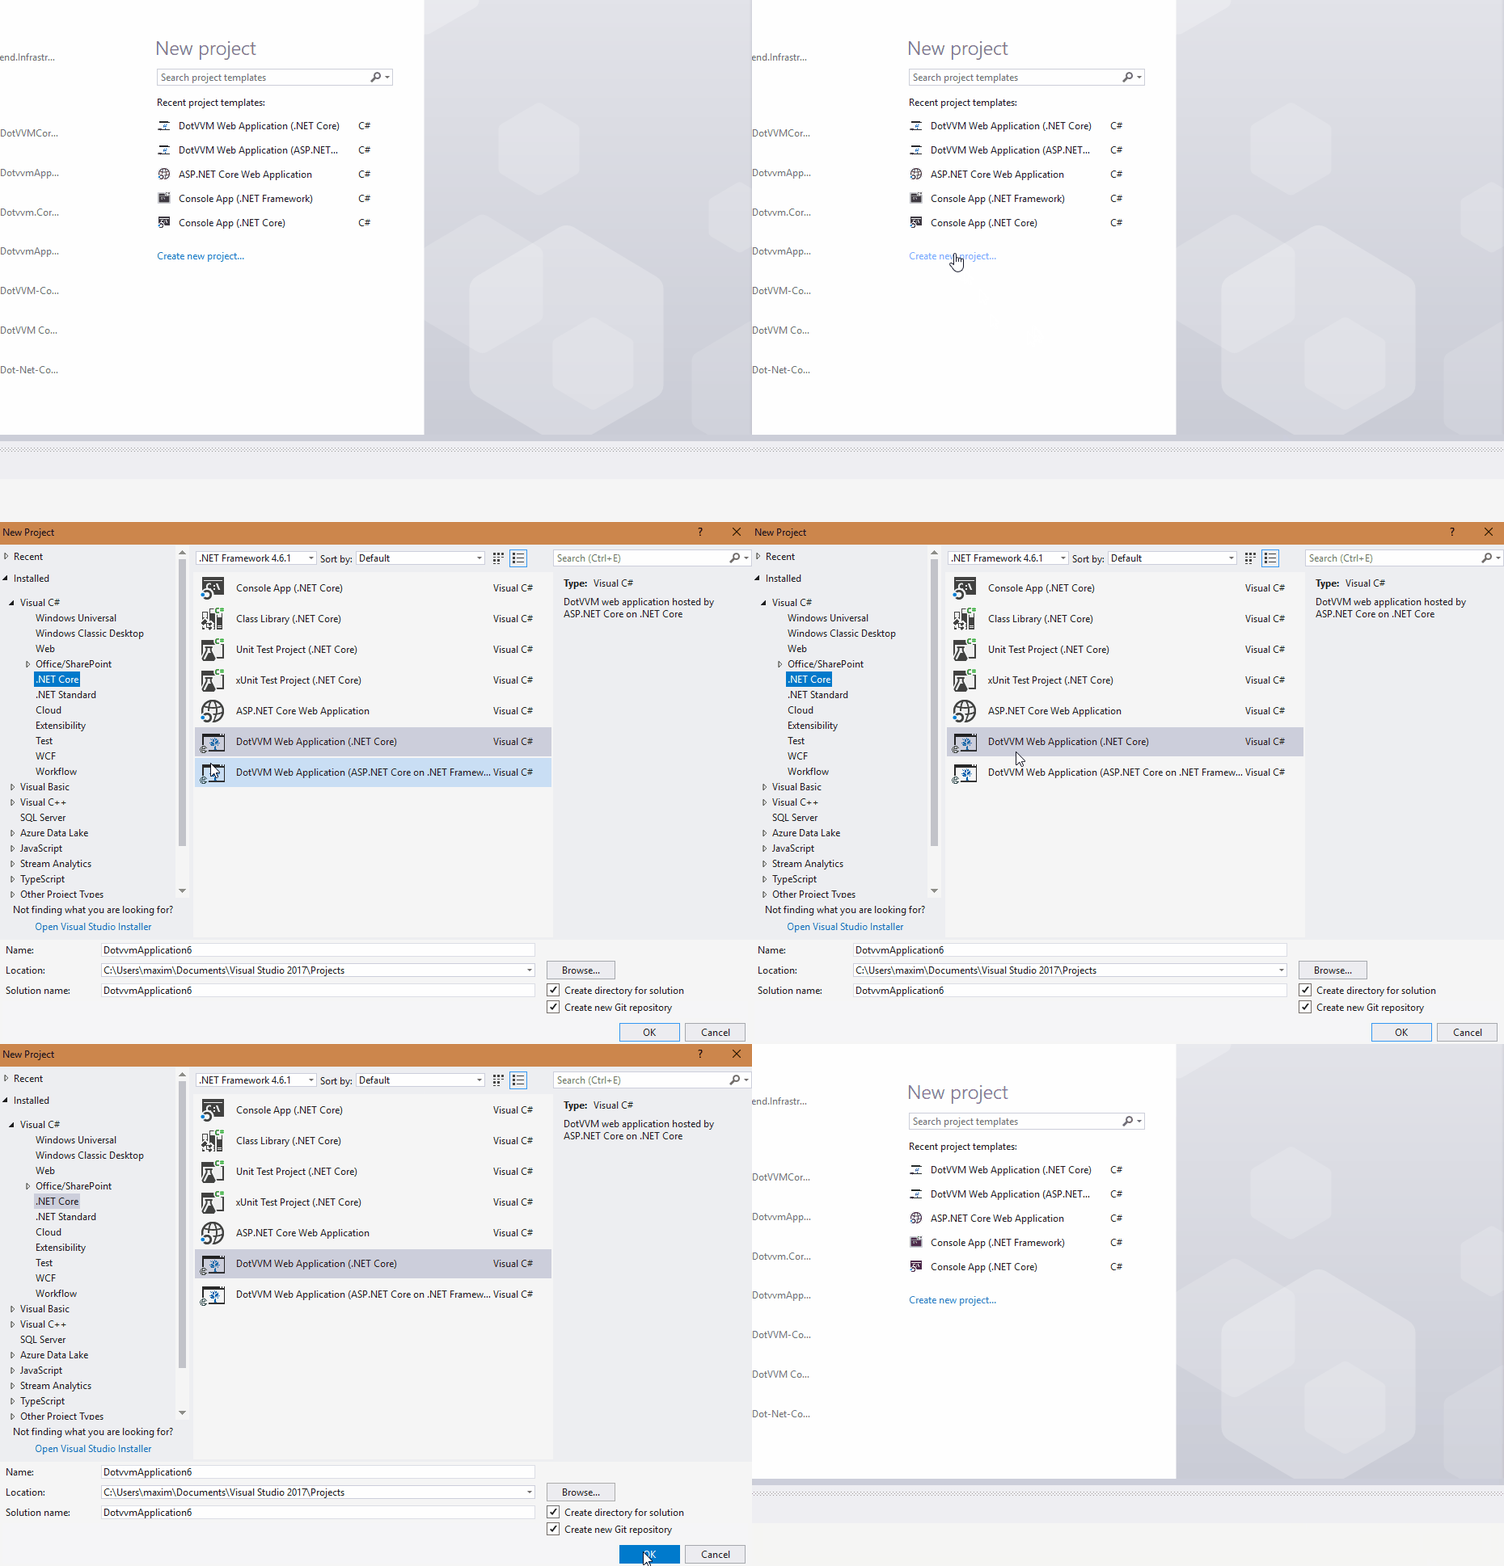
Let’s start with a new DotVVM Core project.

First thing is to change the target framework to .NET Core 2.0 if necessary. Then, right click on your project to edit .csproj file. To run the application with webpack without any issues, paste these two NuGet packages and rebuild the project.
<ItemGroup>
      <PackageReference Include="Microsoft.AspNetCore.All" Version="2.0.0" />
      <PackageReference Include="DotVVM.AspNetCore" Version="1.2.0-alpha1" />

</ItemGroup>
Add npm package.json file and right-click to restore all packages. You can check the npm progress in the Output window.
{
       "name": "myproject",
       "version": "1.0.0",
       "devDependencies": {
             "webpack": "2.5.1",
             "webpack-hot-middleware": "2.18.2",
             "style-loader": "0.18.2",
             "url-loader": "0.5.9",
             "aspnet-webpack": "^2.0.1",
             "sass-loader": "6.0.6",
             "node-sass": "4.5.3",
             "css-loader": "0.28.7",
             "file-loader": "0.11.2",
             "html-loader": "0.5.1",
             "webpack-dev-server": "2.9.3",
             "webpack-glob-entry": "2.1.1",
             "extract-text-webpack-plugin": "2.1.2",
             "jquery": "^3.2.1",
             "path": "0.12.7",
             "requirejs": "2.3.5",
             "uglyfly-js": "3.2.2"
       }

}
Add these lines of code to Startup.cs. It will enable the hot module replacement, which allows us to make changes in style and JavaScript code during runtime. Webpack files are reloaded after that and the page is refreshed.
if (env.IsDevelopment())

{
      app.UseDeveloperExceptionPage();
      app.UseWebpackDevMiddleware(new WebpackDevMiddlewareOptions()
      {
           HotModuleReplacement = true,
           HotModuleReplacementClientOptions = new Dictionary<string, string>{
           {"reload", "true"}
      }
      });

}
Add webpack.config.js file
"use strict";

const path = require('path');

const webpack = require('webpack');

const globentry = require('webpack-glob-entry');
module.exports = {
      entry: globentry(__dirname + '/Resources/*.***'),
      output: {
           path: __dirname + '/wwwroot/dist/',
           publicPath: "/dist/",
           filename: "[name].js",
      },
      module: {
           rules: [
                { test: /\.scss$/, loader: 'style-loader!css-loader!sass-loader' },
                {
                     test: /\.(png|jpg|jpeg|gif|svg)$/,
                     loader: 'url-loader?limit=1000'
                },
                ]
      },
      plugins:
      [
           //two global variables for jQuery - restart Node.JS needed
           new webpack.ProvidePlugin({
                $: "jquery",
                jQuery: "jquery"
           }),
           //Avoiding dublicate code
           new webpack.optimize.CommonsChunkPlugin("shared"),
      ],

};
This webpack configuration does a couple of tasks for us.
- Webpack uses the webpack-glob-entry plugin to compile all files in the specified directory
- If a picture is referenced in a .scss file and its size is less than 1000 bytes, webpack will compile the image to Base64
- All the information, which is duplicated in compiled files, is separated in a “shared.js” file. We usually use this file in our master page.
- jQuery is included in all the .js files.
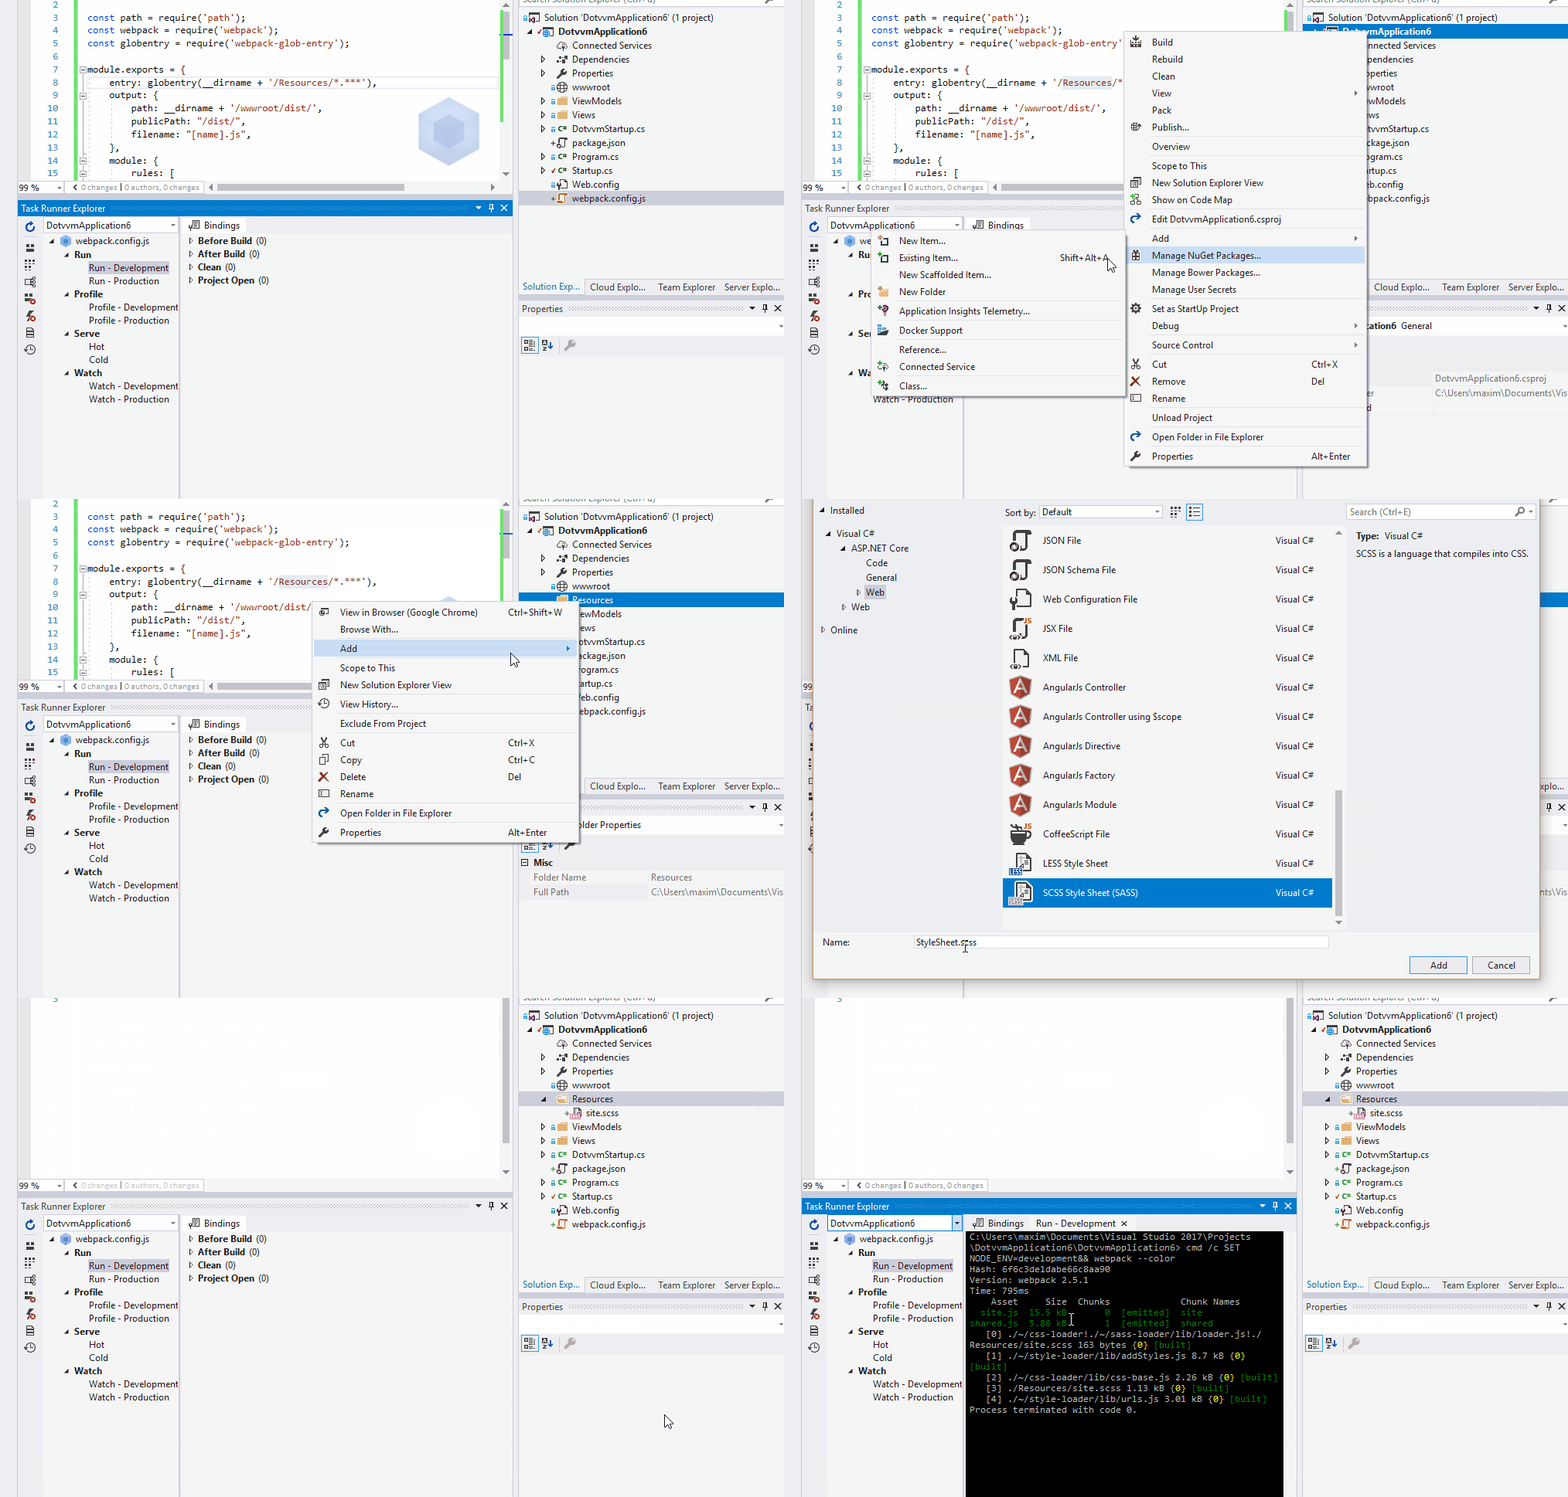
Before we run the webpack, we will add some .scss files to the directory, which is specified in the configuration entry section.
It enables you to add the generated files into Views and run the project.
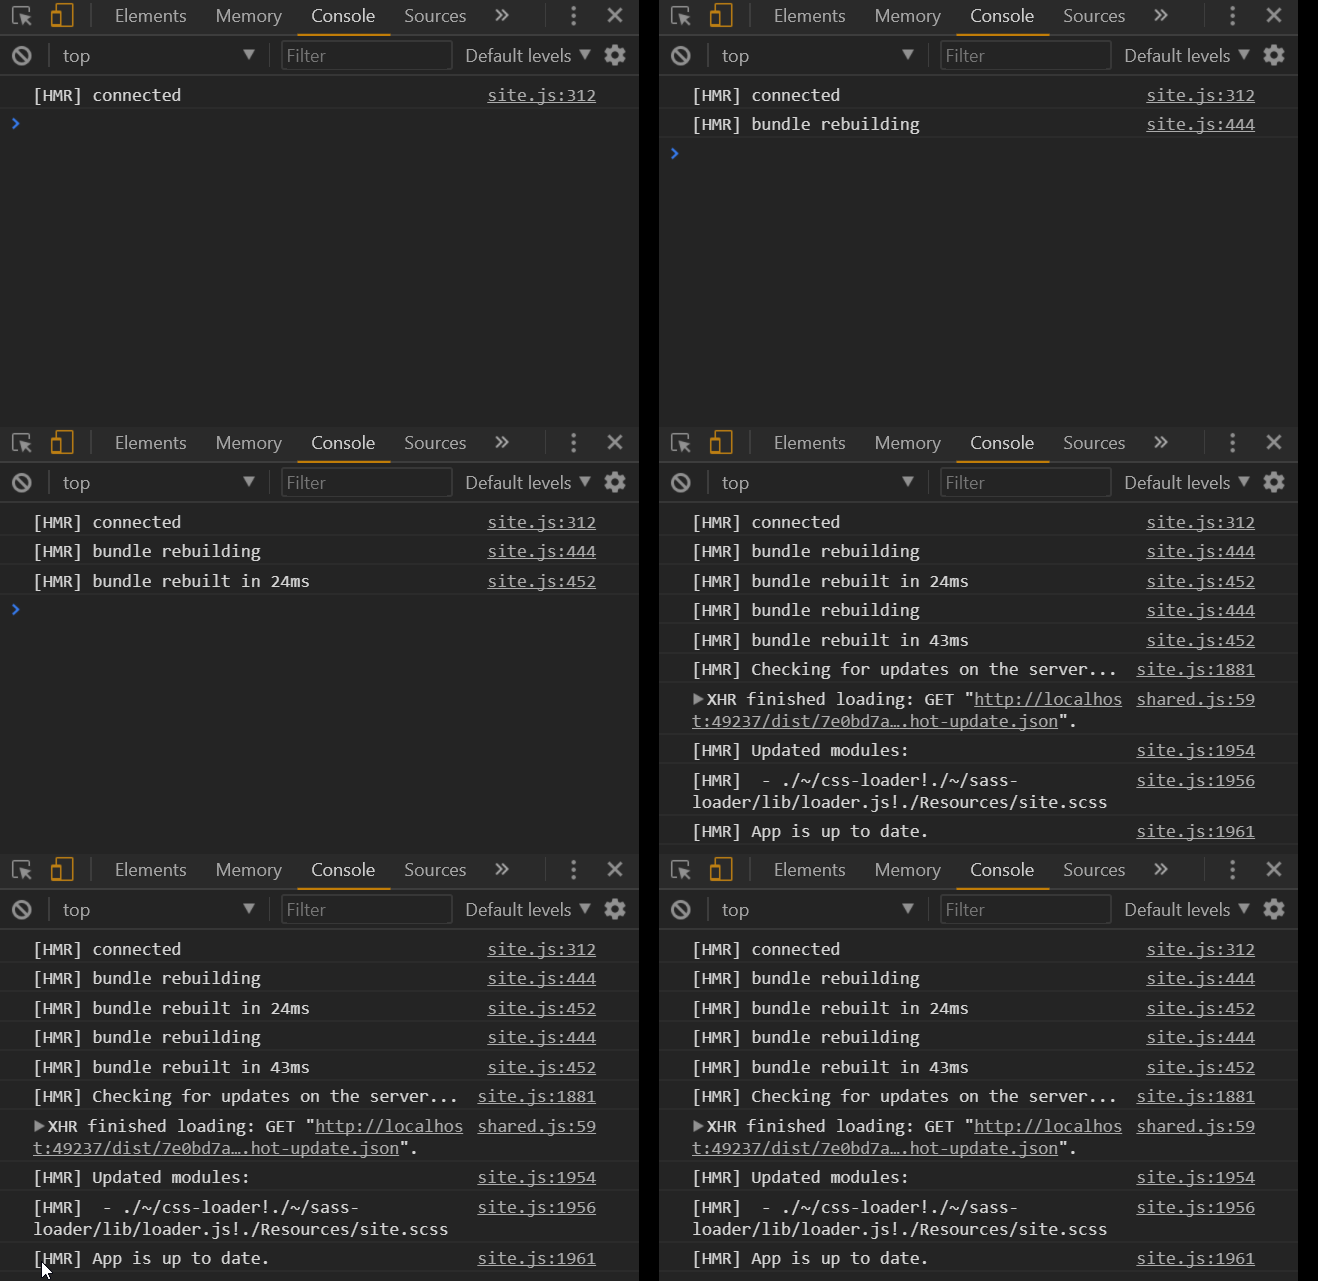
To try the hot module replacement, run the website and you should see HMR logging in browser console. Sometimes you need to run your project once again without debugging (Ctrl + F5) to see the hot module replacement effect.
Now you can write .scss and JavaScript files and immediately see changes on the page!
Sample project - https://github.com/MDuzij/DotVVMCore.Webpack.Sample
If you have any questions, please contact me at [email protected], I would be happy to help.


